This is the first of an ongoing series of projects that I’ve been planning to increase focus and cultivate positive growth: a place to record and display goals and organize thoughts, and to reflect on the day at its completion and plan for the next.
I have long had a weakness for picture frames, especially when they’re on sale, and it has resulted in a sizable collection of lovely frames with nothing in them. I’ve even at times hung them empty on the wall when they’ve fit nicely into an arrangement, reasoning that I’ll eventually fill them with just the right thing. But me being who I am, they have hung there unfilled for far too long, sometimes years: stock photos of strangers smiling ridiculously on my walls.
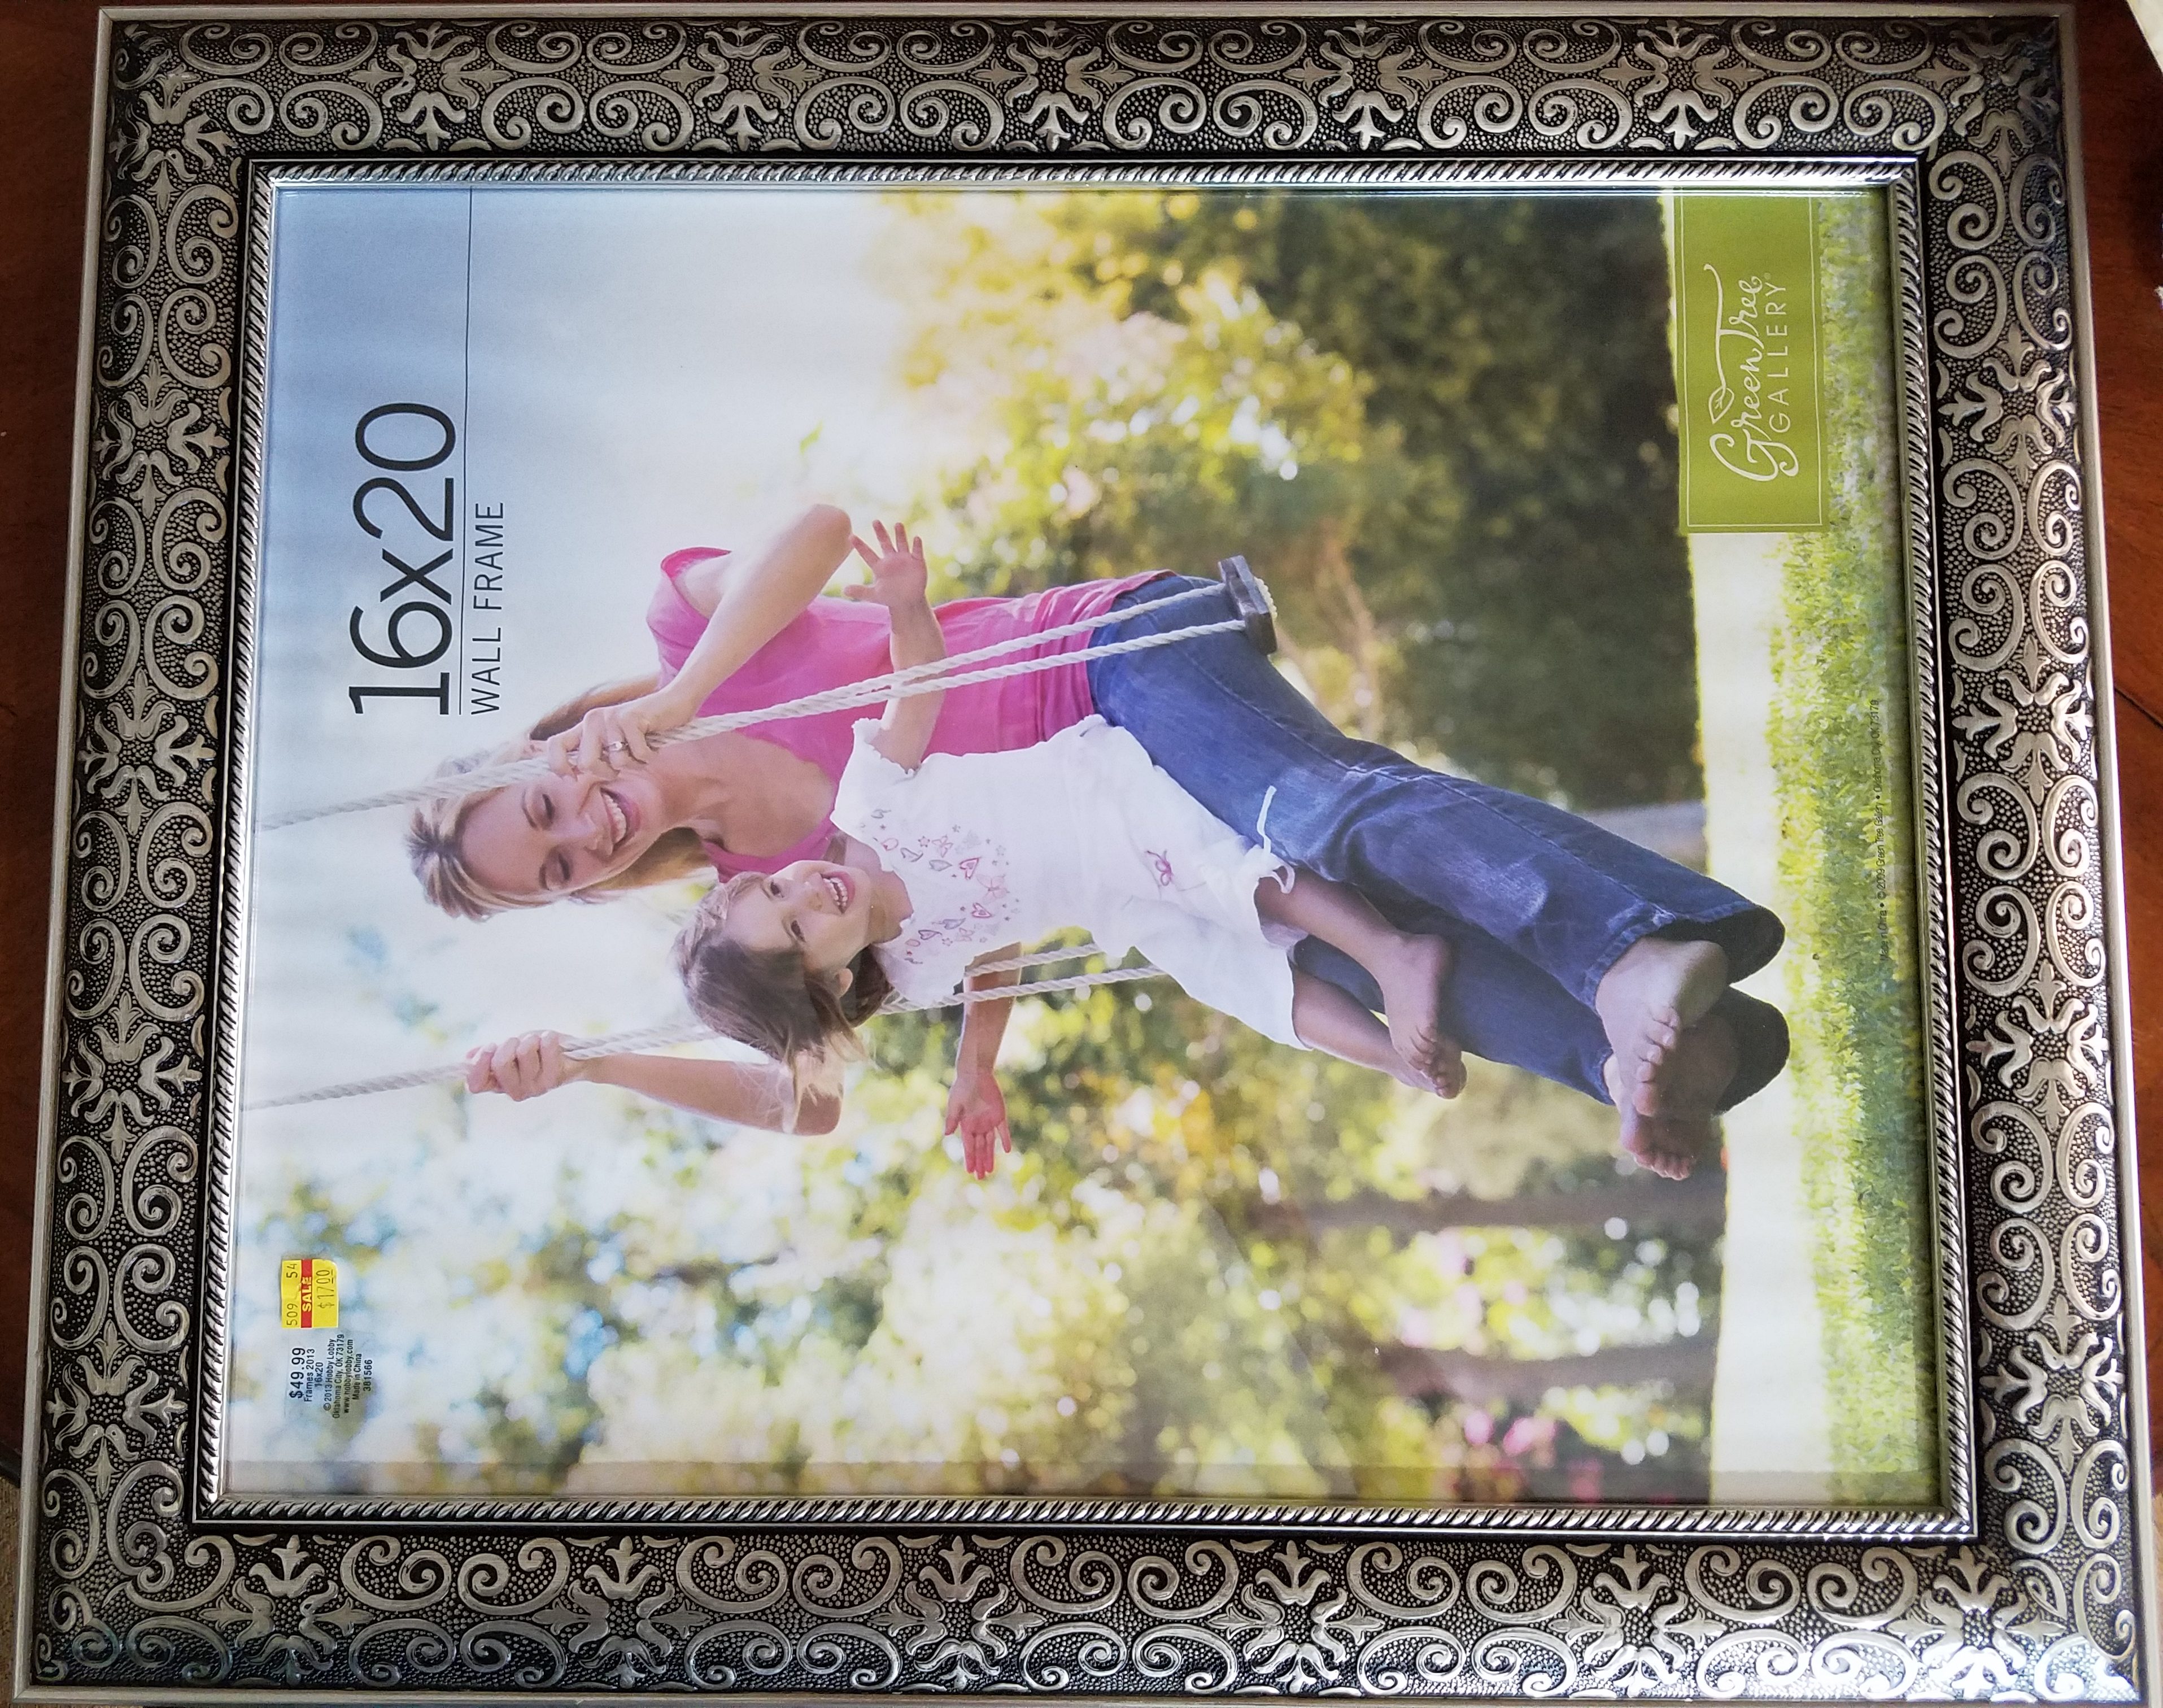
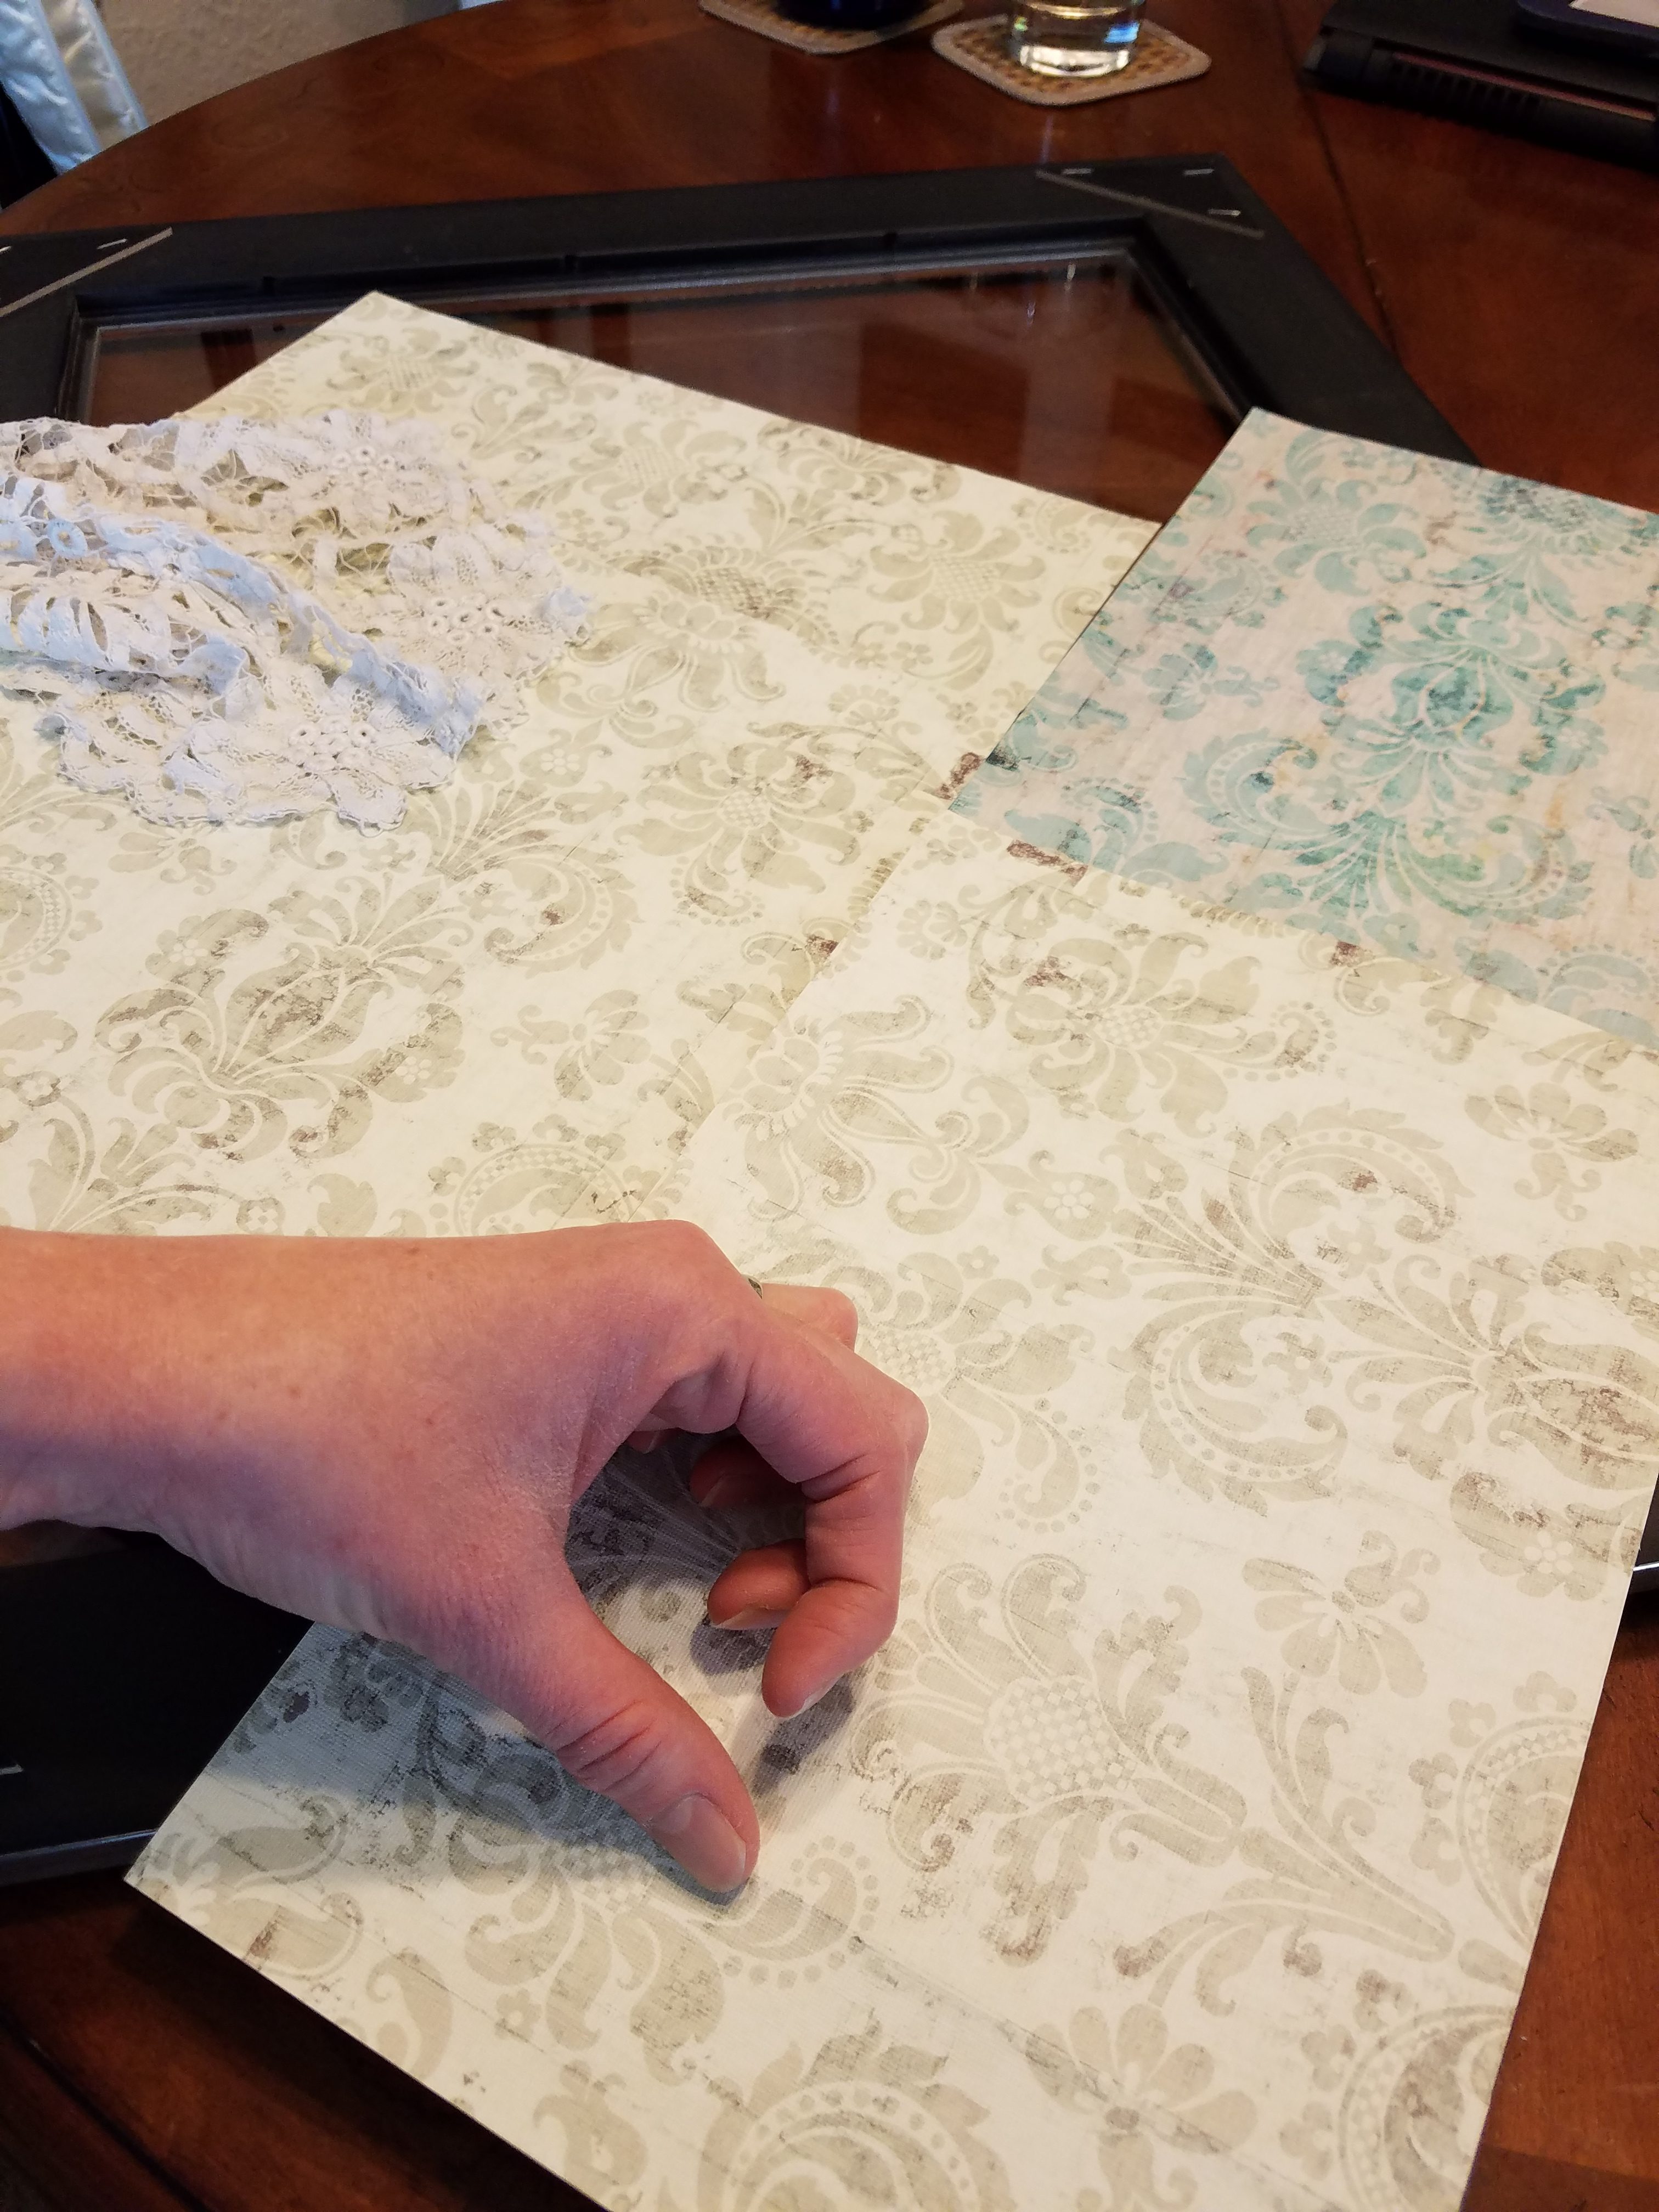
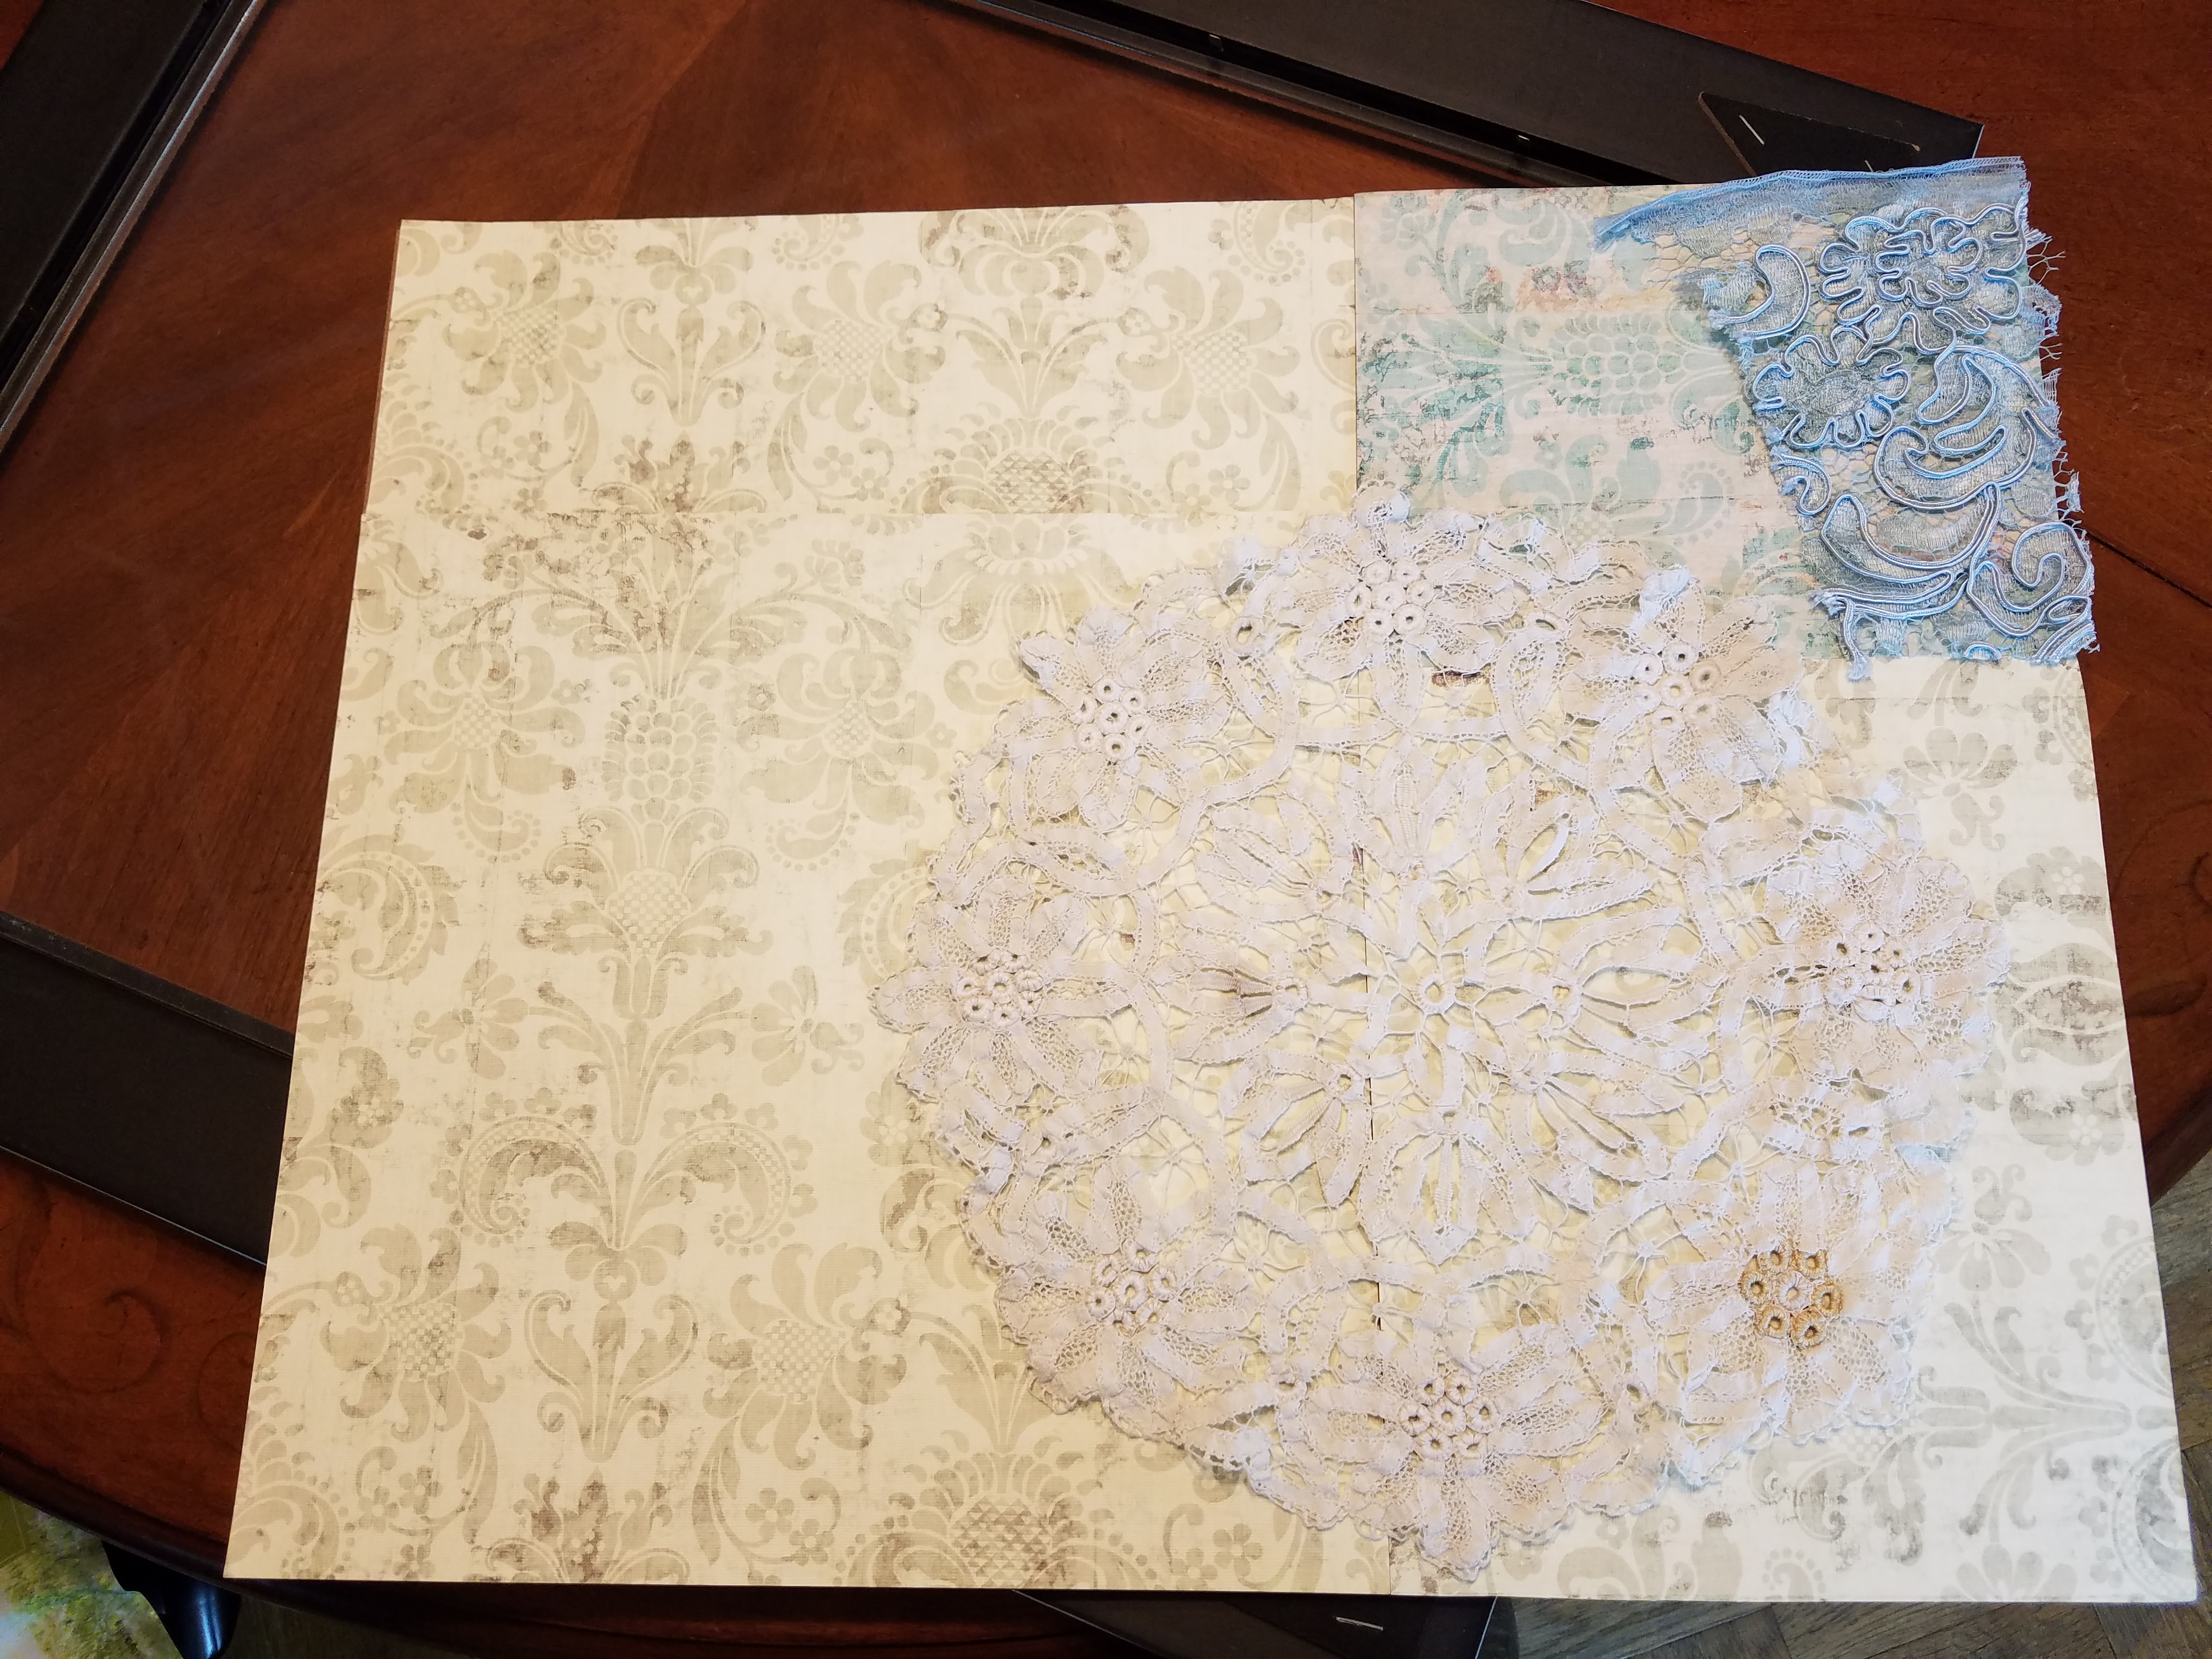
This woman and child swung in my living room for a couple years and recently moved into my bedroom, defying gravity in a landscape orientation. They are now hanging over my writing desk, which I sometimes actually write at, and I finally thought of what the right thing would be for their frame. I planned to fill it with light colored paper and use the glass as a writing surface for philosophical goals and lofty reminders. I had a booklet of “old world” scrapbook paper that I once bought on a whim and selected a wallpaper-like pattern in two colors. Because the frame is so large, it would take four paper pieces to cover the space, so I was glad to find a pattern that was very freeform. I also decided to add some keepsakes: a doily from my great-grandmother Wicks and a bit of Italian lace from my great-grandmother Goodrich. They would finally have a place to be displayed and kept safe from tiny fingers, and would also conceal some of the paper seams.
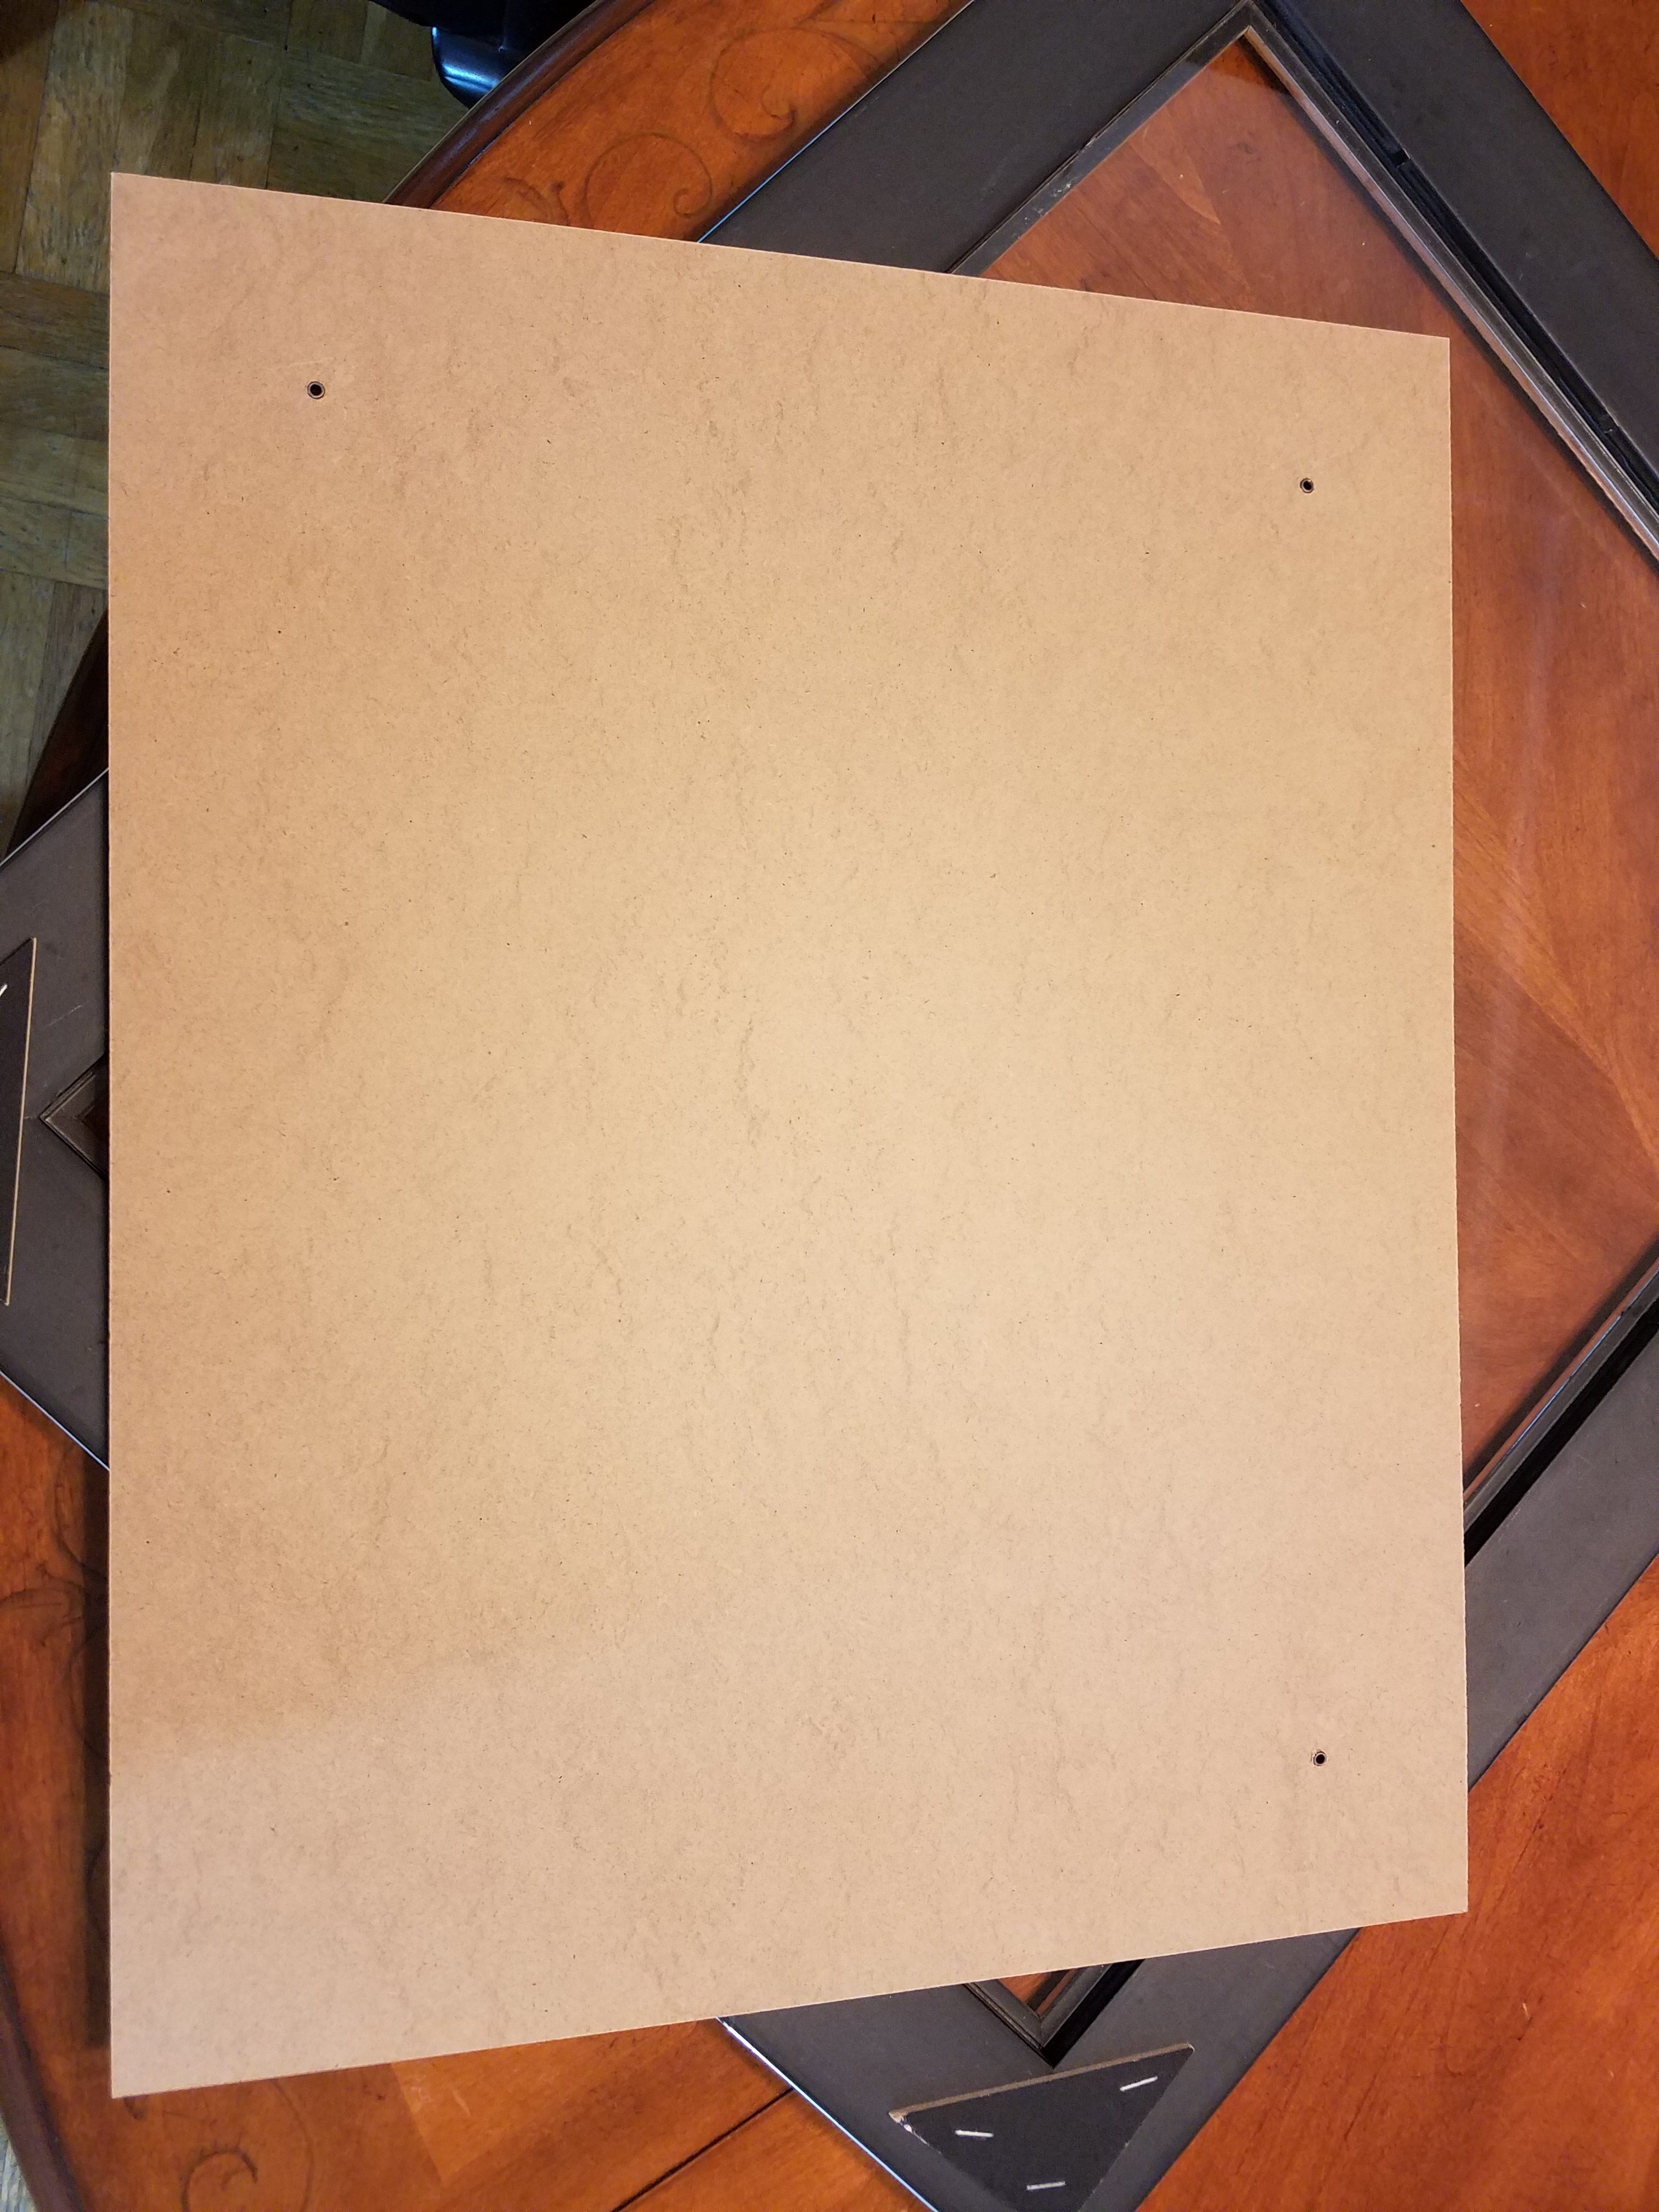
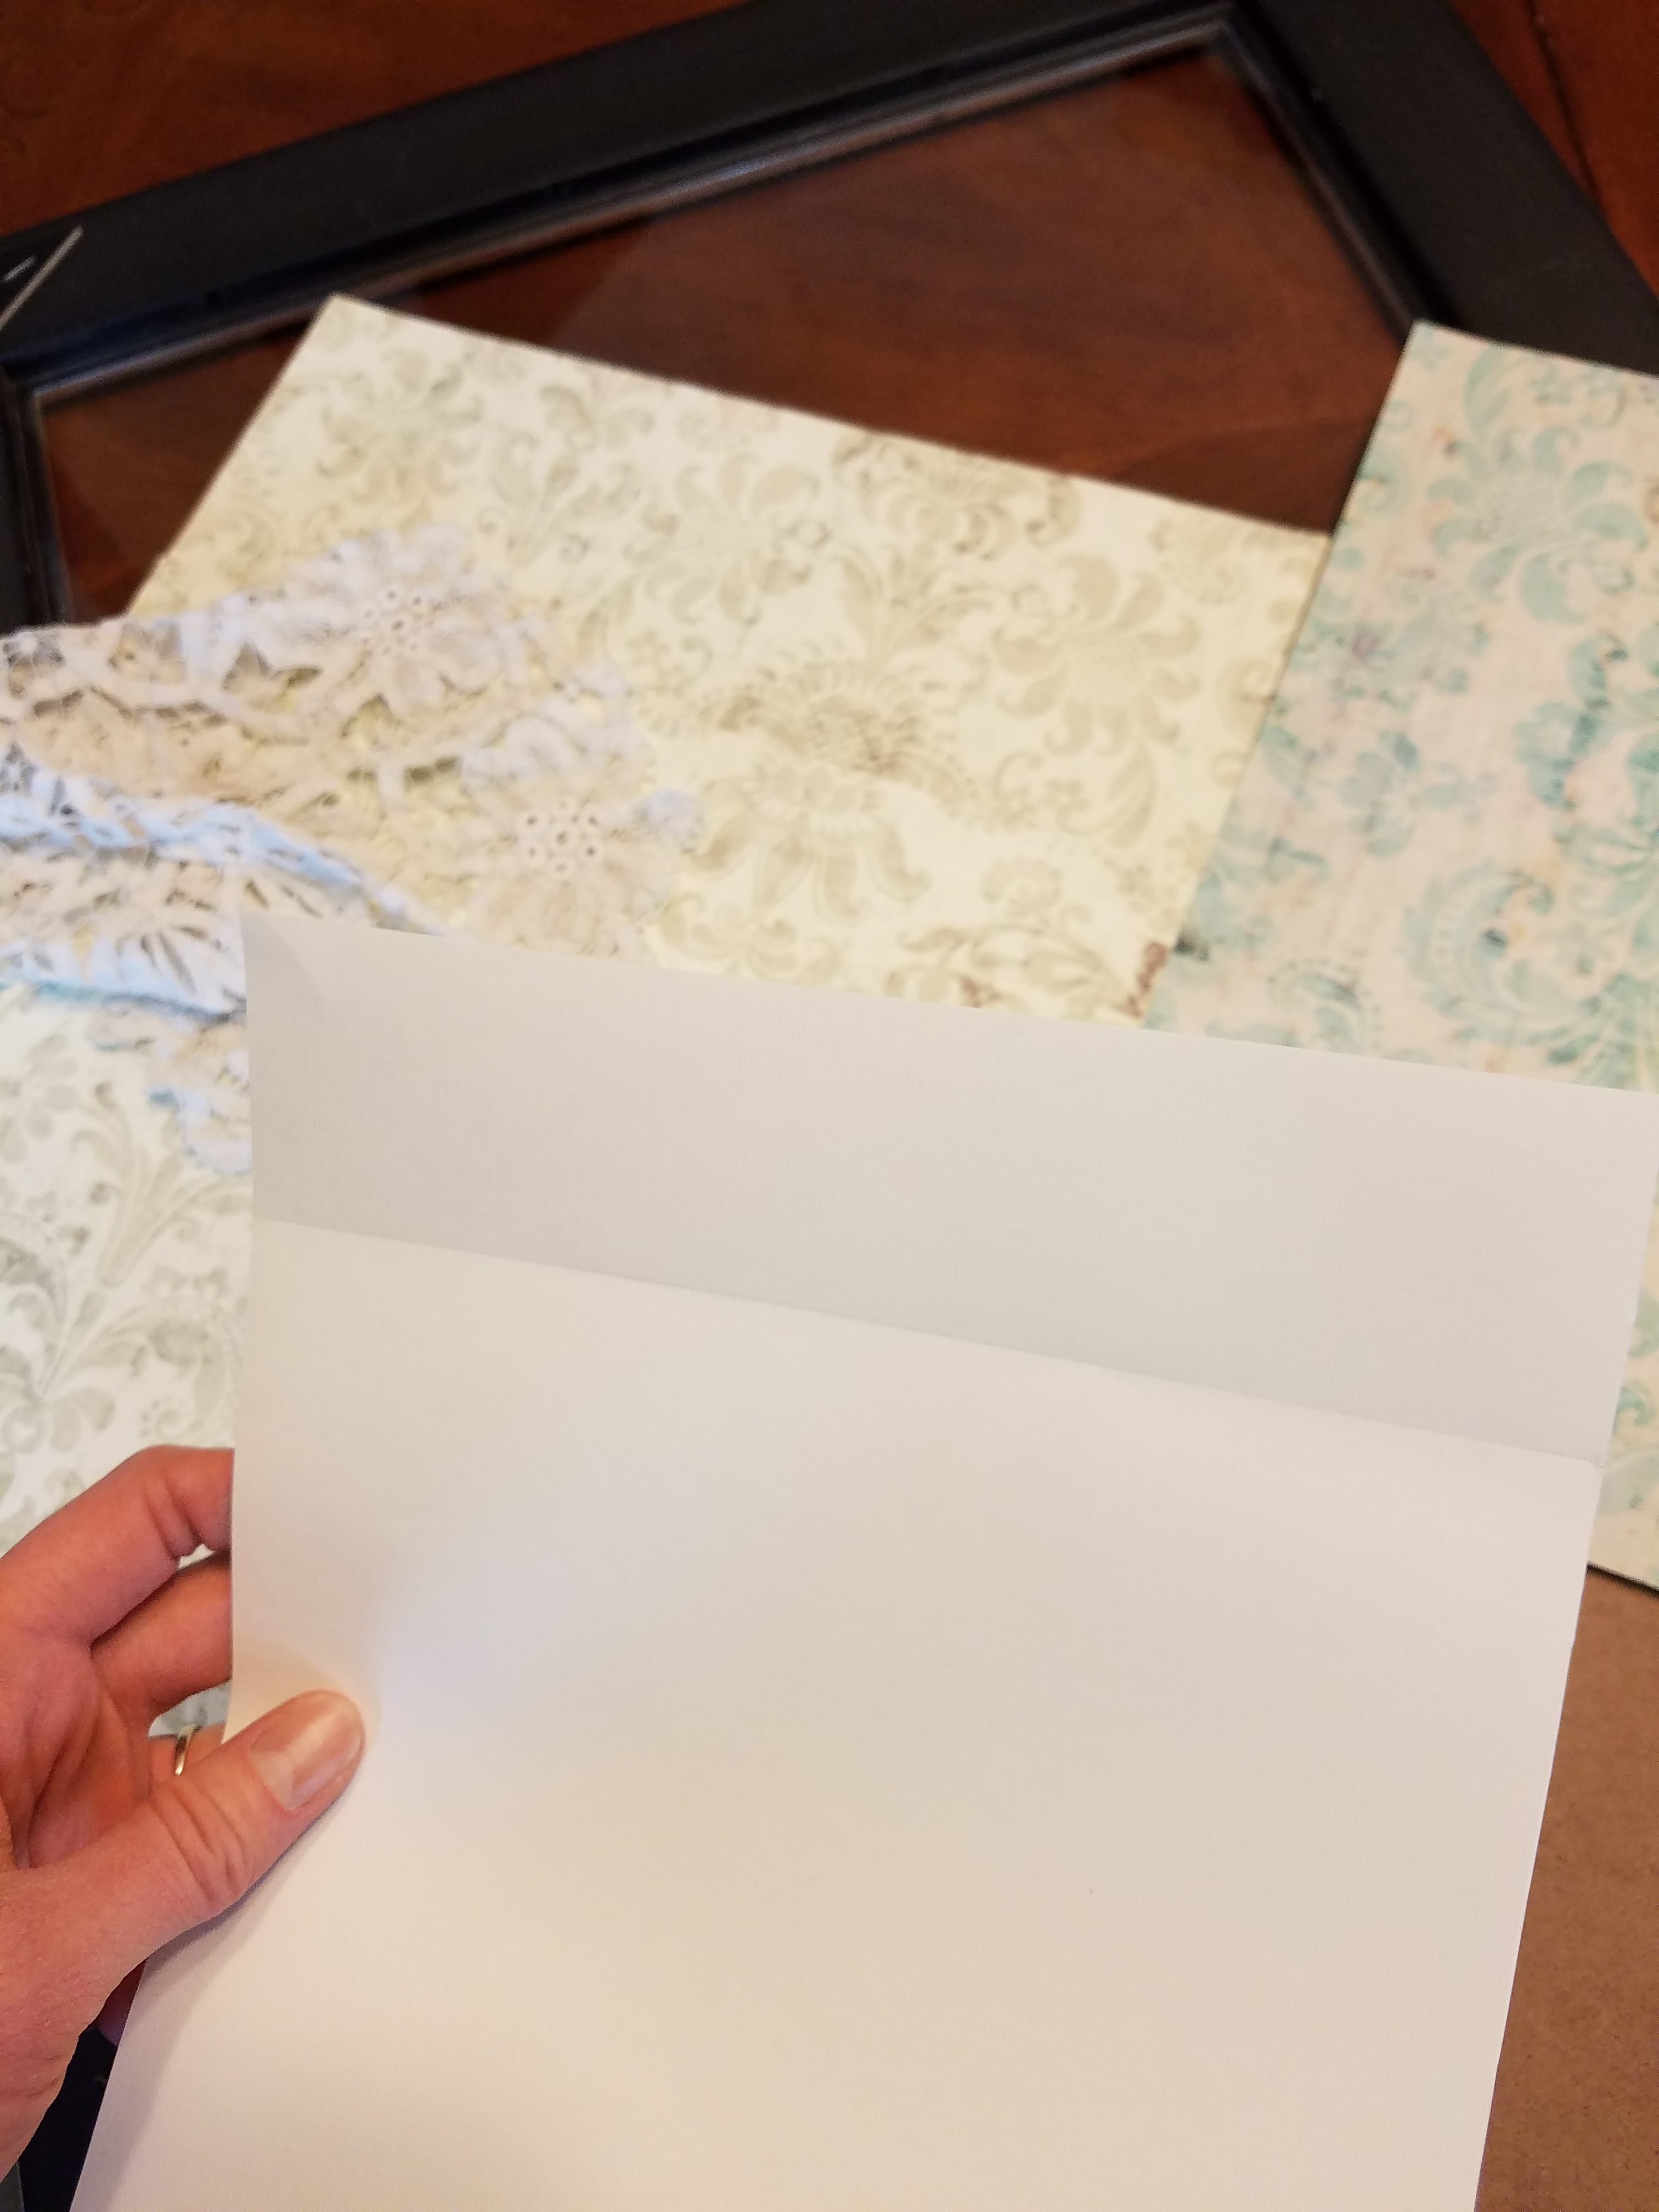
It seemed easiest to simply mount everything directly on the frame backing, which is a fairly inflexible pressed board. After deciding on the arrangement, I scored the overhanging paper by simply rubbing my fingers along the edge of the pressed board and then folding the paper to complete the score. Then I had a clear line to cut by. I affixed everything with Scotch tape; since it would be held together by the glass and pressed board, there was no need to make it permanent with glue.
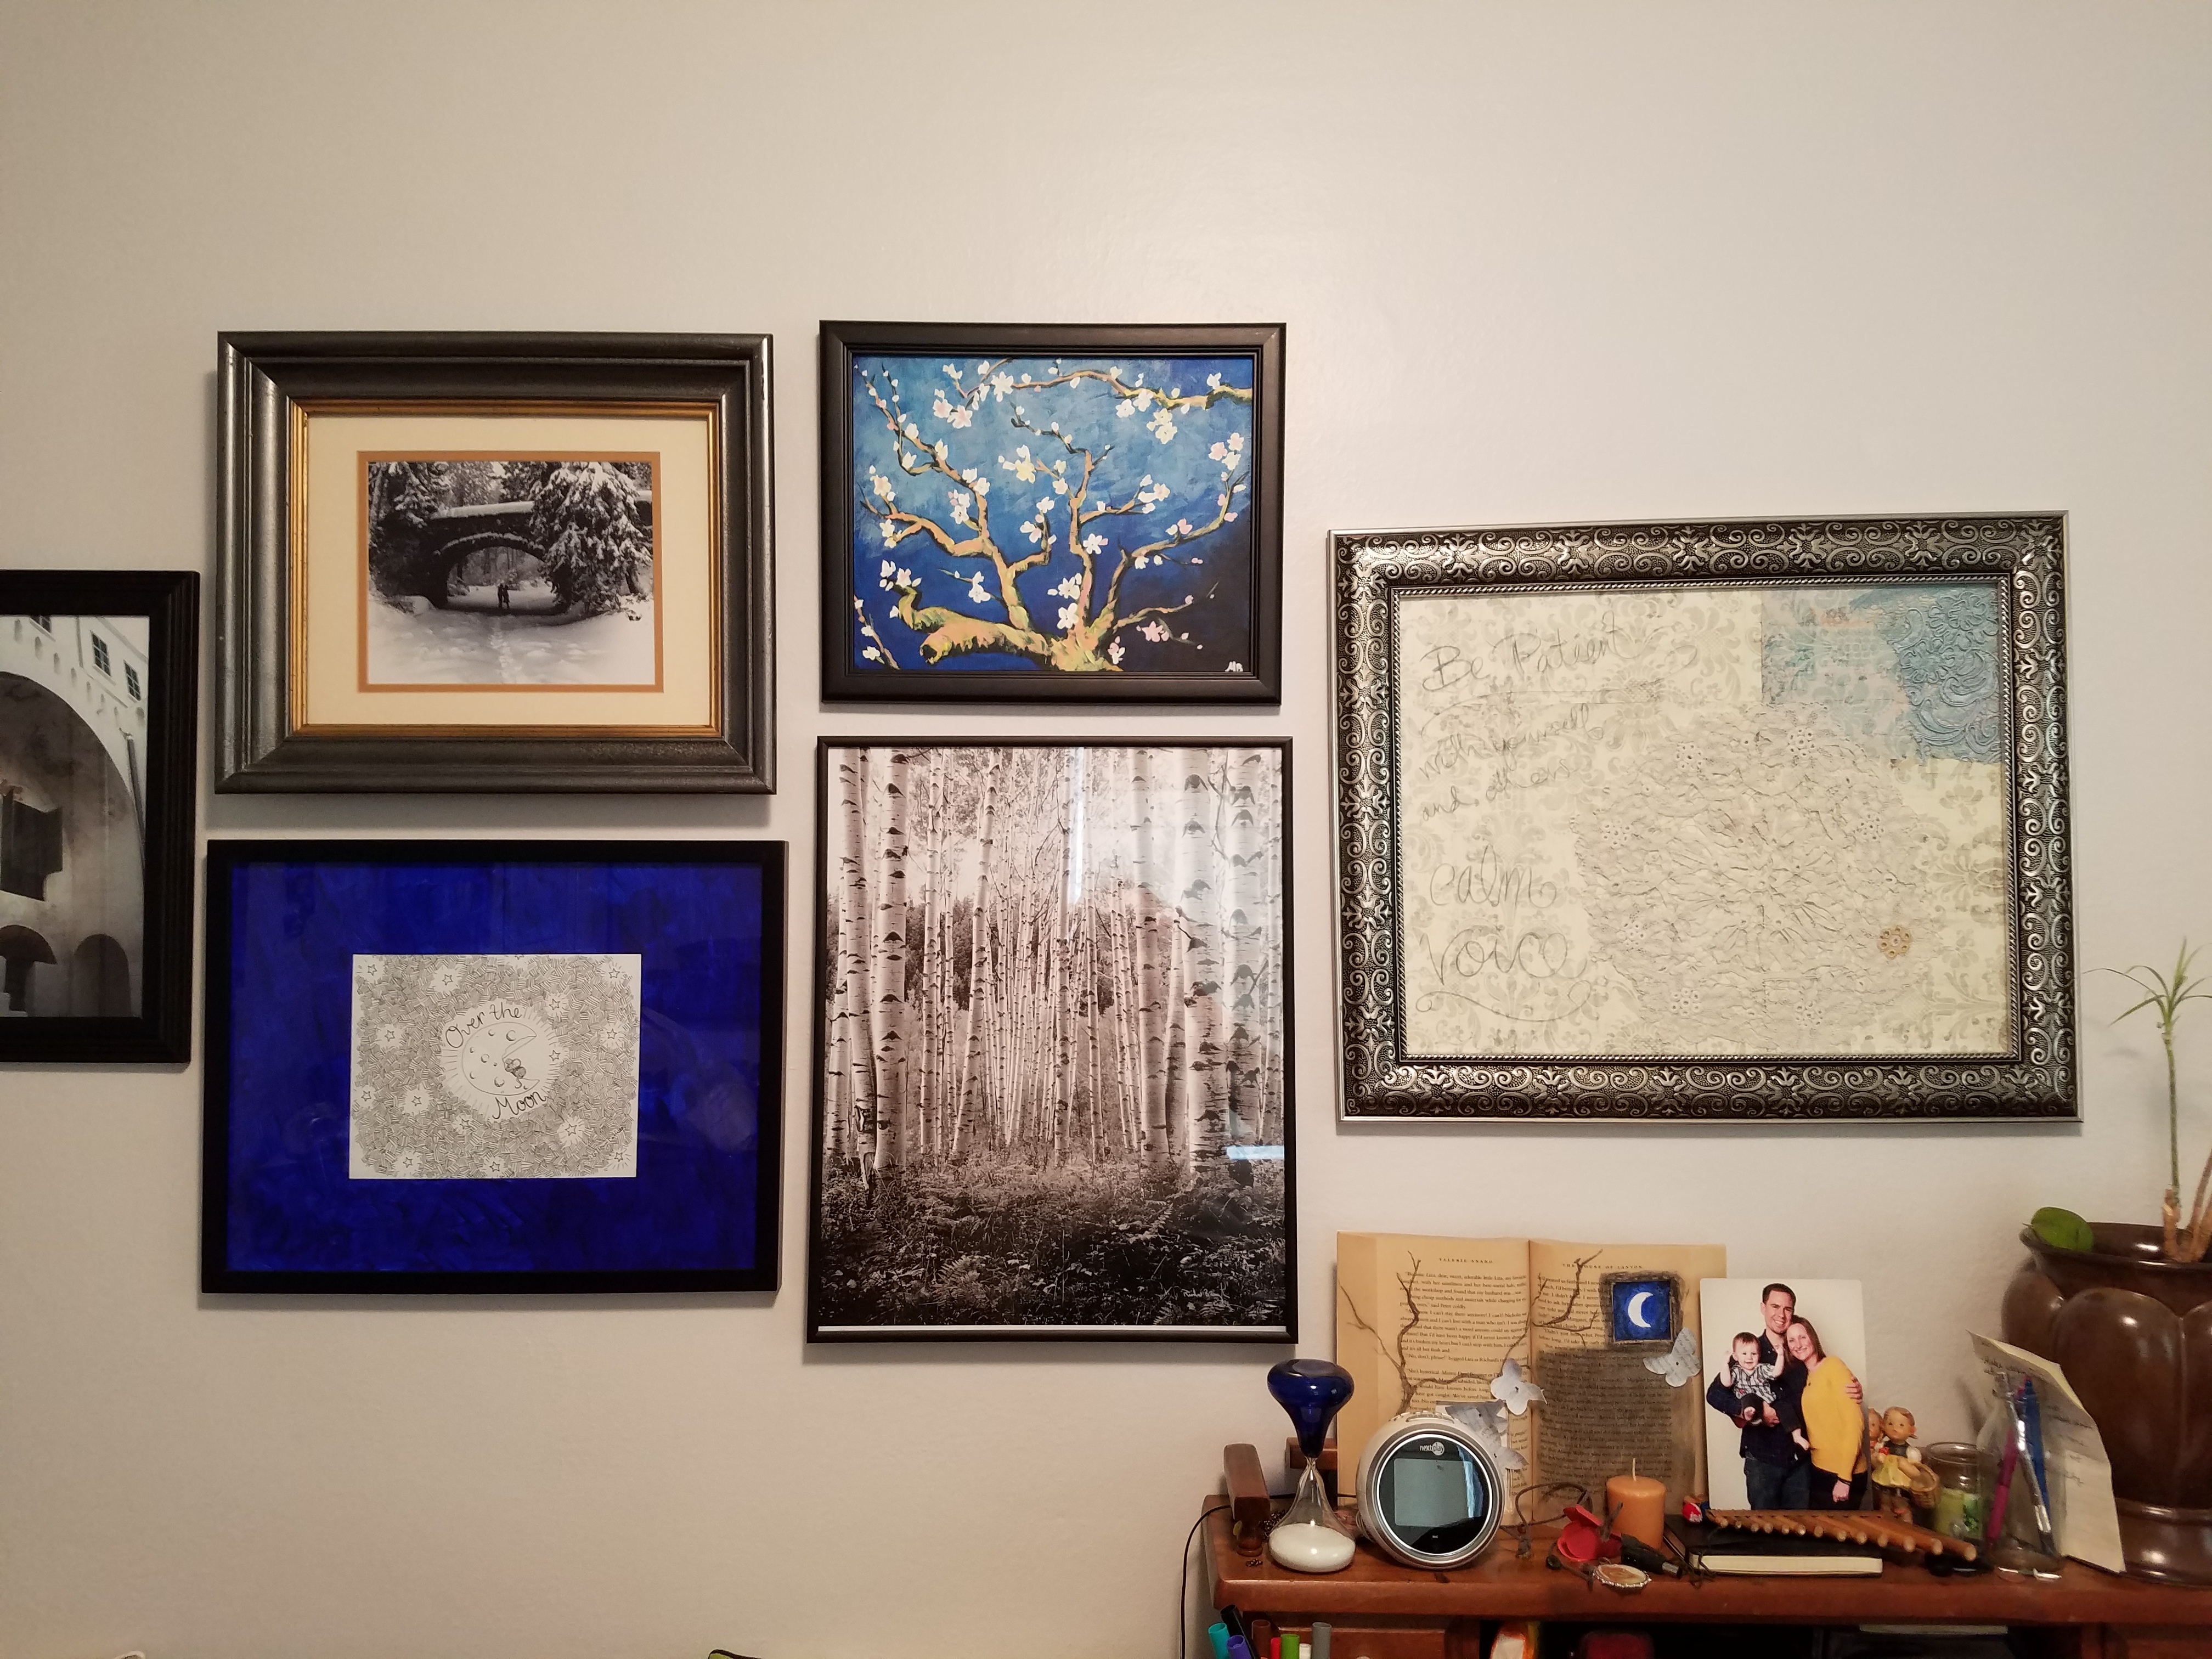
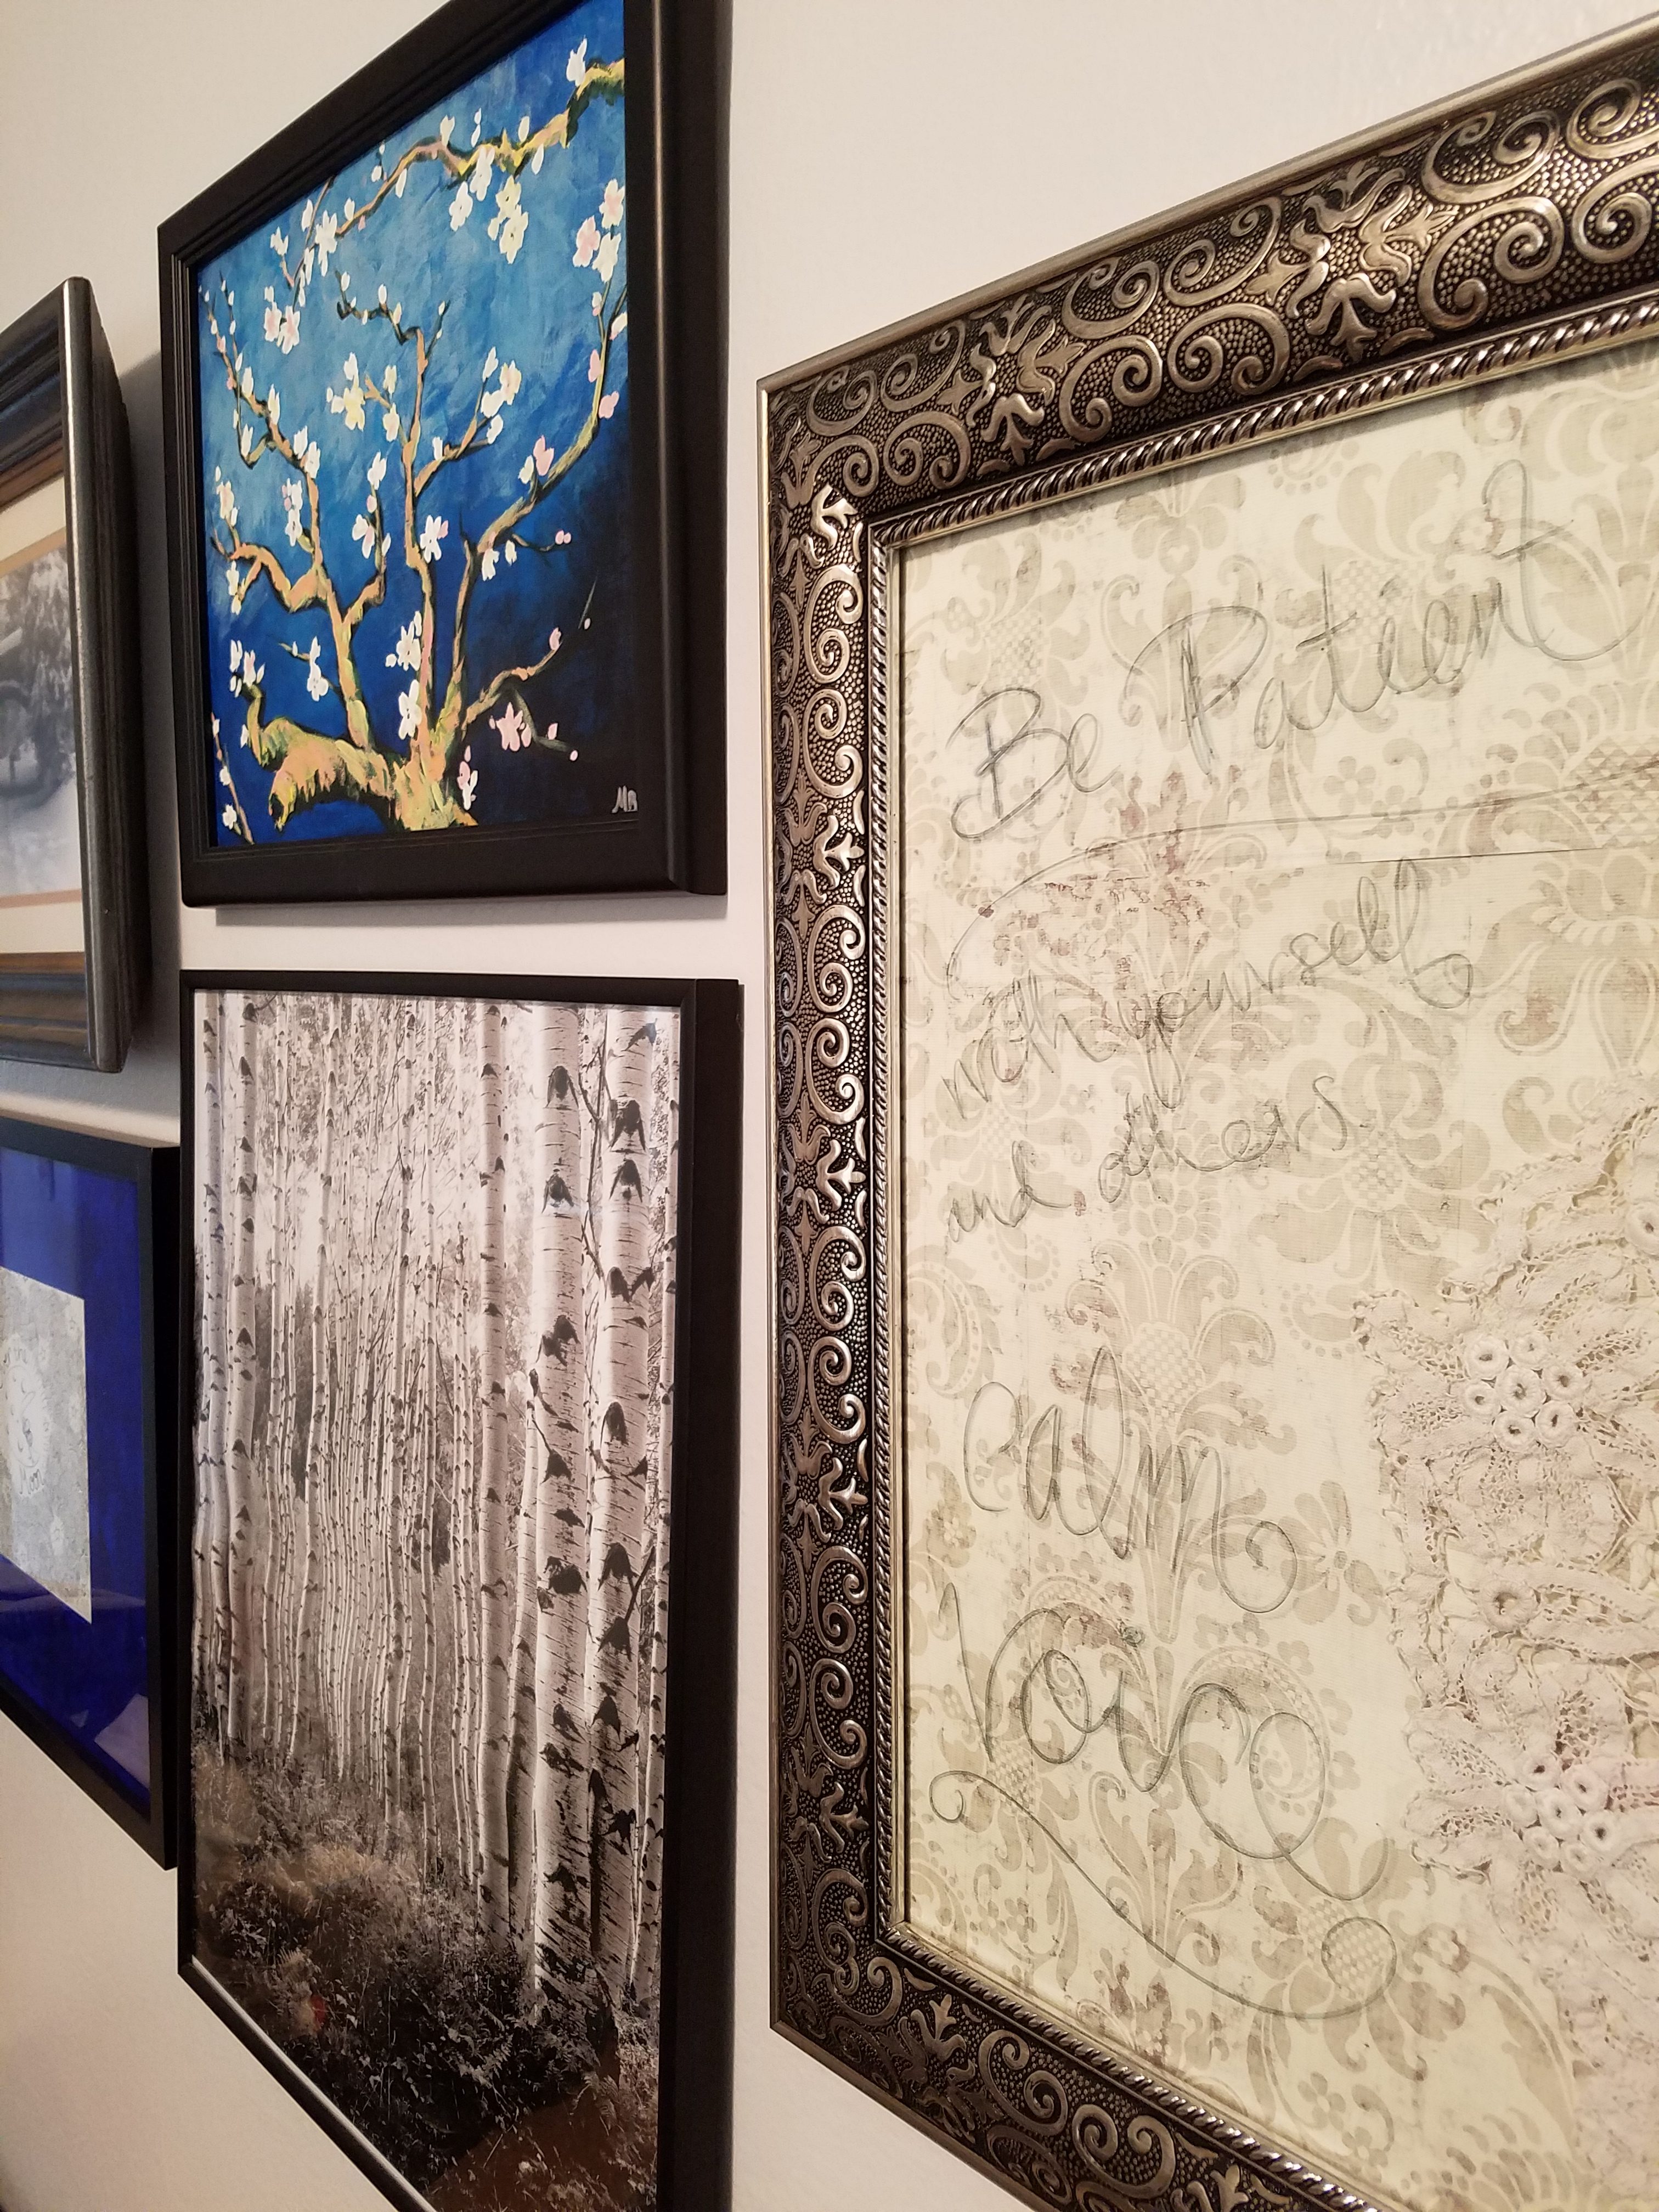
My Crayola washable markers didn’t show up as well as they do on my mirrors; only the black was legible. I think I’m going to invest in some chalk pens to try with it, as well as some sticky notes for posting ideas and notes for my stories-in-progress. I’m thrilled to finally have this frame filled with something meaningful, and to have a little altar in my room for declaring my intentions.
Using picture frames to create an intention altar presents limitless possibilities. Plenty of nice frames can be found at the dollar store or at thrift shops and they can be filled with brown paper cut from grocery bags, plain printer paper or patterned craft paper, or even interesting fabrics from discarded blankets, scarves, or clothing. You can add interesting elements such as lace, feathers, pressed flowers or leaves, anything that gives you inspiration. It doesn’t all have to be a light background color either; as long as you’ve left enough space for you to write, you can fill the rest of the space however you like.
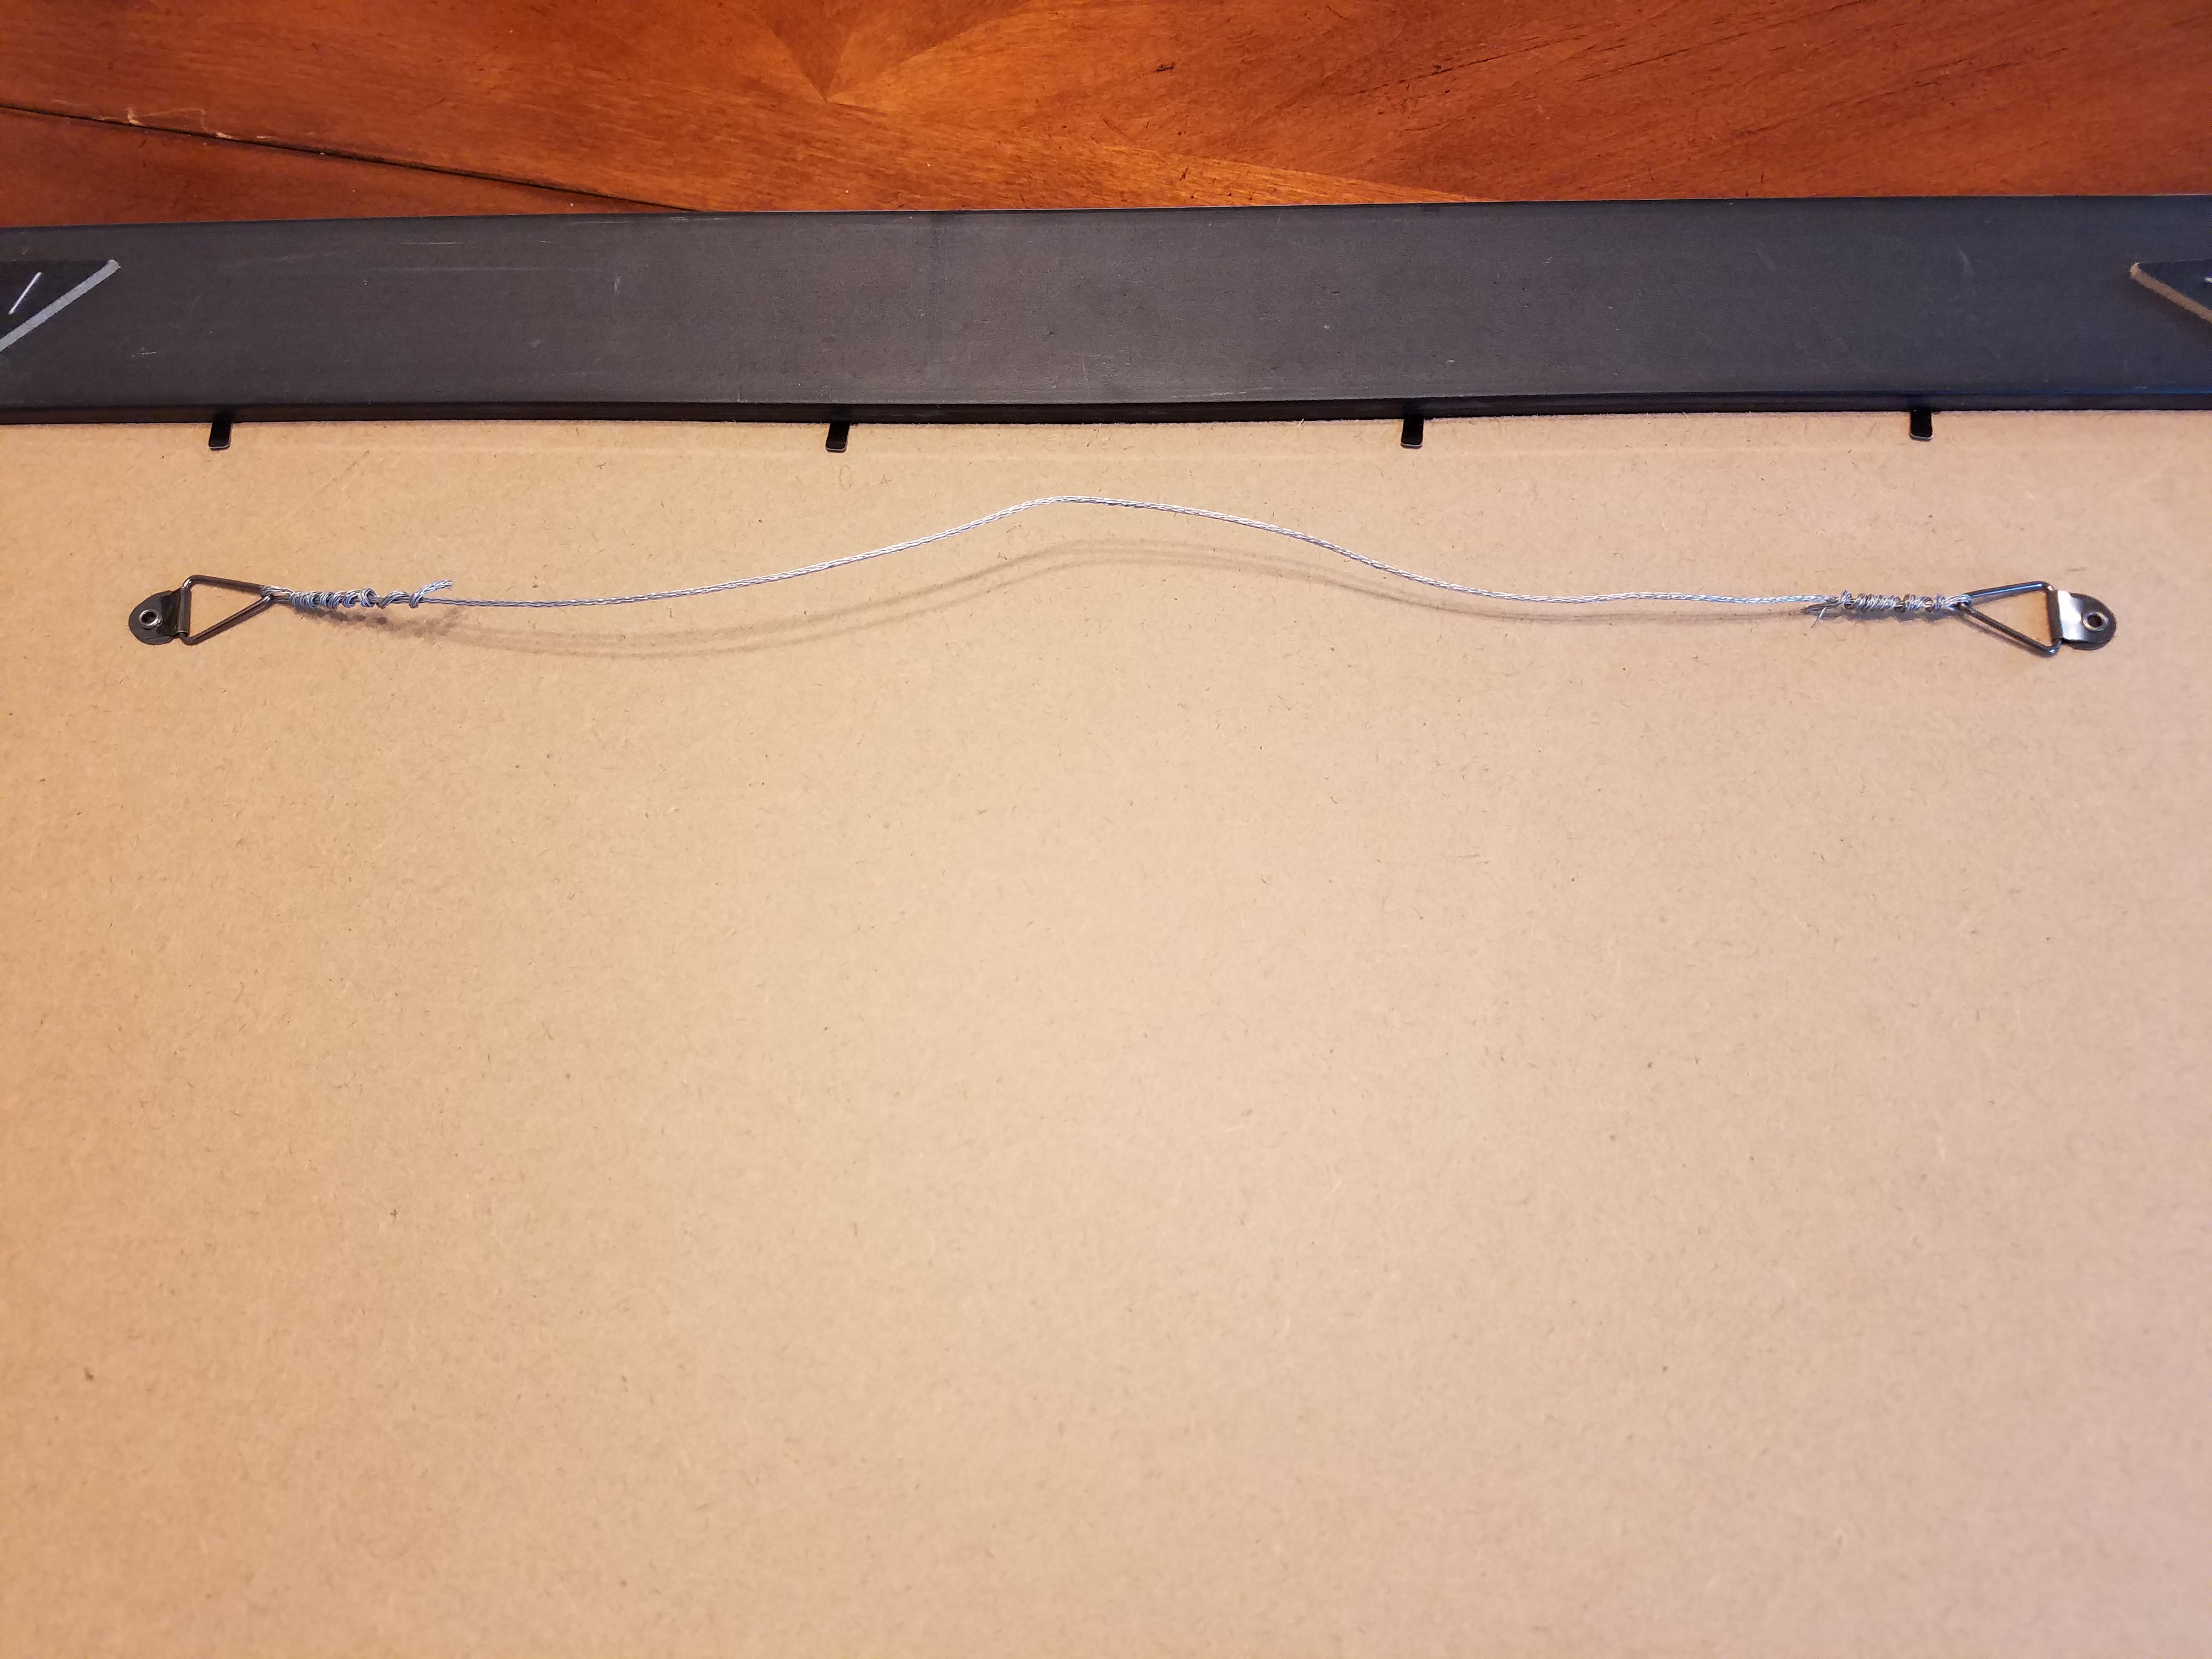
When you have a frame like this with the two hangers in the back, make your life easier by wiring them together with framing wire! It can be difficult to mount these frames level when you have to line up two nails just right, especially since the hanger hardware isn’t always level on the back of the frame. Using wire instead requires that you only have to pound one nail into your wall and you have a bit more wiggle room to adjust the picture’s position slightly without having to move the nail, by sliding it side to side on the wire (though if you go too far it will hang crooked). Even if you mount it a bit too high, you can pull down gently on the frame to extend the wire a little as necessary (so try to hang a bit too high rather than too low). Just make sure you leave yourself enough extra wire on each side to adequately wrap it around itself for security.
Posted by Mallory on March 3, 2017